Tutorials
How to Encrypt a USB Drive with VeraCrypt: Step-by-Step for Beginners
How to Encrypt a USB Drive with VeraCrypt: Step-by-Step for Beginners
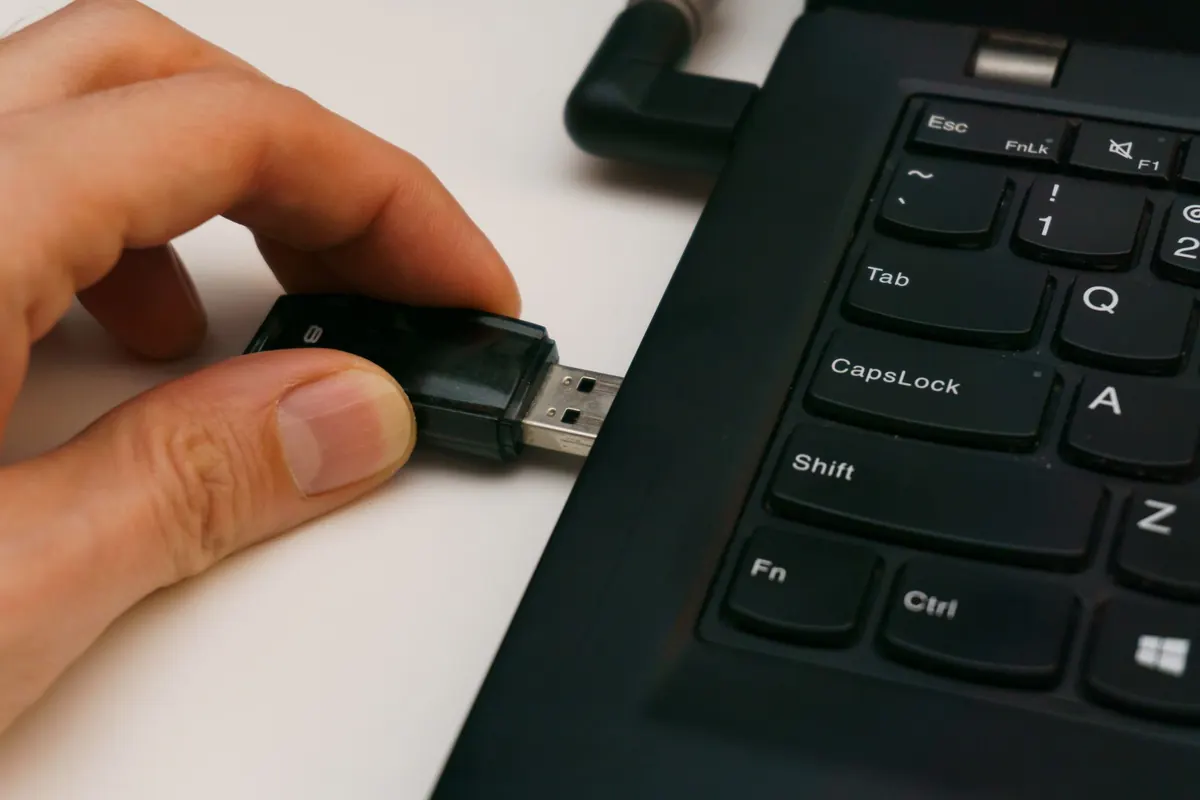
A USB stick holds more than most people remember putting on it: scanned tax forms, a folder of passport photos, a half-finished manuscript, the only copy of a set of keys. It also lives in coat pockets and backpack pouches. When it goes missing, encryption is the difference between losing a piece of plastic and handing over your files. VeraCrypt is a free, open-source tool that solves this, and the routine is smaller than the window suggests. The first time you open it, the choices can look intimidating — volume types, encryption algorithms, hash functions, filesystems — but for a USB drive, you only need a handful of them. Once you understand the difference between an encrypted container and a fully encrypted drive, the rest is mostly clicking Next and choosing a serious password.
This guide walks through both approaches. One keeps a single encrypted file on the USB drive, which is the easiest and safest for beginners. The other encrypts the entire USB drive, which is more thorough but also more destructive if you skip the backup step. Either way, the result is the same in daily use: you plug in the drive, mount the encrypted volume with VeraCrypt, enter your password, and work with your files normally. When you dismount, the files become unreadable ciphertext again.
What VeraCrypt Really Does
VeraCrypt creates an encrypted volume. Inside, it holds an ordinary filesystem; outside, it looks like a stream of random bytes with no readable structure. Enter the right password and your operating system presents it as a normal drive letter. Dismount it and the contents are unreadable to anyone without that password. Nothing here relies on hiding filenames or renaming folders — the protection comes from the cryptography itself.
The phrase to remember is on-the-fly encryption. You do not decrypt the whole drive first and then use it. VeraCrypt decrypts data as it is read and encrypts it as it is written. That is why a mounted volume feels like any other disk: you can open a document, save changes, copy files, and empty the trash without thinking about encryption. The moment you dismount, the volume disappears from your system and the USB drive contains only scrambled data.
VeraCrypt can also use different encryption algorithms, including AES, Serpent, and Twofish, and it can combine them in cascades. For most people, the default AES setting is fine. AES is fast, widely trusted, and more than strong enough for a lost USB stick. The weak point in almost every setup is not the algorithm; it is the password. A short, reused password can undo excellent cryptography.
Encryption does not care how careful you were yesterday; it only cares whether you can produce the right secret today.
Install It From the Official Source
Download VeraCrypt from the project's own site, veracrypt.fr, and check the published checksum before you install. Builds of disk-encryption tools are a tempting target for tampering, and a checksum takes a minute.
On Windows, run the installer and accept the administrator prompt. On macOS, open the .dmg, drag VeraCrypt to your Applications folder, and launch it from there. On Linux, you can install VeraCrypt from your distribution's package manager or download the official console and GUI packages from the VeraCrypt site. If you are on a shared or public computer, remember that installing VeraCrypt may require administrator rights, and some workplaces block encryption tools entirely.
After installation, open VeraCrypt once and leave it open while you work. The main window is where you will create volumes, mount them, and dismount them. Do not download VeraCrypt from a random mirror, a forum attachment, or a third-party software bundle. The official source is the only one worth trusting for a tool that will hold your most sensitive files.
Before You Start: Back Up and Choose a Password
Before you change anything on the USB drive, copy its contents somewhere else. If you choose to encrypt the entire drive, VeraCrypt will usually need to format it, which erases everything on it. Even with the container method, mistakes happen: you might select the wrong file, choose the wrong drive, or accidentally format the USB instead of the container. A backup turns a disaster into an inconvenience.
Next, decide on a password that you can actually remember and that no one else can guess. Length matters more than clever substitutions. A passphrase of four or five unrelated words is easier to remember and harder to crack than a short password with symbols. Do not reuse the password from your email, bank, or social media accounts. If you use a password manager, store the VeraCrypt password there as well, but make sure you can still access the password manager if the USB drive is lost.
VeraCrypt also supports keyfiles. A keyfile is any file — a photo, a text file, a song — that is mixed into the encryption key. You can use one or several keyfiles, and they must be present whenever you mount the volume. Keyfiles add a second factor, but they also add a second thing to lose. If you use a keyfile, keep it on a different device from the USB drive, and never store it inside the encrypted volume itself.
Option 1: Create an Encrypted Container on the USB Drive
This is the best starting point for beginners. A container is a single encrypted file that lives on the USB drive. The rest of the USB drive remains normal and unencrypted, which means you can still use it for ordinary files. Only the container is protected. This method is less likely to destroy your data, works across Windows, macOS, and Linux, and is easy to back up because it is just one file.
- Insert the USB drive and confirm that your computer recognizes it.
- Open VeraCrypt and click Create Volume.
- Choose Create an encrypted file container, then click Next.
- Select Standard VeraCrypt volume unless you specifically need a hidden volume. Hidden volumes are an advanced feature for plausible deniability, not a beginner requirement.
- Click Select File, navigate to the USB drive, and give the container a name, such as private.vc. Save it on the USB drive, not on your computer's internal disk.
- Choose the encryption options. The default AES and SHA-512 settings are fine. Click Next.
- Set the volume size. If your USB drive is 16 GB and already has 5 GB of files, you might create a 10 GB container. Leave some free space so the USB drive does not become completely full.
- Create a strong password. Optionally add keyfiles. Click Next.
- Choose a filesystem. For a USB drive used on both Windows and macOS, exFAT is often the best choice when available. FAT is more universally compatible but cannot store single files larger than 4 GB. NTFS is excellent on Windows but may be read-only on macOS without extra software.
- Move your mouse randomly inside the VeraCrypt window for a while. This generates randomness for the encryption keys. Then click Format.
- When VeraCrypt finishes, click Exit. Your container is ready.
To use the container, return to the main VeraCrypt window. Pick a free drive letter, click Select File, choose your private.vc file, and click Mount. Enter your password. The container will appear as a normal drive. Copy your sensitive files into it, work with them normally, and then click Dismount when you are finished. Do not simply unplug the USB drive while the volume is mounted.
Option 2: Encrypt the Entire USB Drive
Encrypting the whole USB drive is more thorough because every file on the drive is protected. There is no unencrypted leftover space and no visible container file. The trade-off is risk. You must back up first, and you must be extremely careful when selecting the drive. Choosing the wrong device could erase your computer's internal drive.
- Back up every file on the USB drive to another location.
- Open VeraCrypt and click Create Volume.
- Choose Encrypt a non-system partition/drive, then click Next.
- Select Standard VeraCrypt volume.
- Choose the USB drive from the device list. Double-check the drive letter and size. If you are unsure, unplug the USB drive, reopen the list, and see which device disappears.
- Choose Create encrypted volume and format it for a clean start. The Encrypt partition in place option can preserve existing data, but it is slower and riskier, especially on removable drives.
- Select your encryption options and password.
- Confirm the format warning. Move your mouse to generate randomness, then click Format.
- When it finishes, the USB drive will no longer appear as a normal readable disk. You must mount it through VeraCrypt to access it.
After this, the routine is the same as with a container: open VeraCrypt, select the USB device, click Mount, enter your password, and use the drive. When you are done, dismount it before unplugging. If you move the USB drive to another computer, that computer also needs VeraCrypt installed, and you need to know whether the operating system supports mounting that type of encrypted partition.
Mounting, Using, and Dismounting Safely
Daily use should become a small habit. Plug in the USB drive. Open VeraCrypt. Select the container file or the encrypted device. Choose a drive letter. Click Mount. Enter your password. Use the files as normal. When you finish, click Dismount or Dismount All. Then eject the USB drive through your operating system before pulling it out.
VeraCrypt includes auto-dismount options that can close the volume when your screen saver starts, when you log off, or after a period of inactivity. These are worth enabling on a laptop that travels. They reduce the chance that you walk away with the volume still mounted and unlocked. If you are working in a public place, also lock your screen whenever you leave the computer, even for a moment.
One common mistake is leaving the encrypted volume mounted and then losing the USB drive. In that state, anyone who picks up the drive may be able to read it if your computer is still running and unlocked. Dismounting is not paranoia; it is the whole point of the tool.
Troubleshooting and Limitations
- "Incorrect password or not a VeraCrypt volume" usually means the password is wrong, the keyfile is missing, or the volume header is damaged. Check Caps Lock and keyboard layout, then try again slowly.
- Back up the volume header. In VeraCrypt, use Tools and then Backup Volume Header. Store the backup somewhere other than the USB drive. If the header is corrupted, this backup may be the only way to recover the volume.
- Cross-platform access is not automatic. A filesystem that works perfectly on Windows may be read-only on macOS, and some Linux systems need extra packages for exFAT or NTFS. Test your USB drive on every operating system you plan to use before you rely on it.
- No password recovery. VeraCrypt cannot reset your password or recover your files for you. If you forget the password and lose the keyfiles, the data is gone.
- Antivirus and workplace policies. Some security software flags encryption tools or blocks them entirely. Check the rules before using VeraCrypt on a work computer.
Final Checklist
- Back up the USB drive before making changes.
- Download VeraCrypt only from veracrypt.fr and verify the checksum.
- Choose a container for simplicity or full-drive encryption for thoroughness.
- Use a long, unique passphrase, and add keyfiles only if you can manage them safely.
- Mount, copy, work, and dismount — every time.
- Back up the volume header and store it separately.
- Test the encrypted USB drive on another computer before trusting it with your only copy of anything.
VeraCrypt will not make a USB drive unloseable, but it changes what losing one means. Instead of handing over your tax returns, passport scans, or manuscript, you hand over a piece of plastic full of noise. The setup takes a few minutes, and the daily routine takes a few seconds. For the files that would hurt to expose, that is a very good trade.
Photo: Aleksander Dumała / Pexels
Related Articles